Customise the display
Set how long items show, add an on-screen clock, and tailor the AirPlay panel: its text, the network name, and its colour.
Last updated 26 July 2026
Every gallery has its own look. How fast the slideshow moves, whether there's a clock, how the AirPlay panel sits over your content. This guide runs through the lot.
Open a gallery and choose Settings. Everything below lives in that panel.
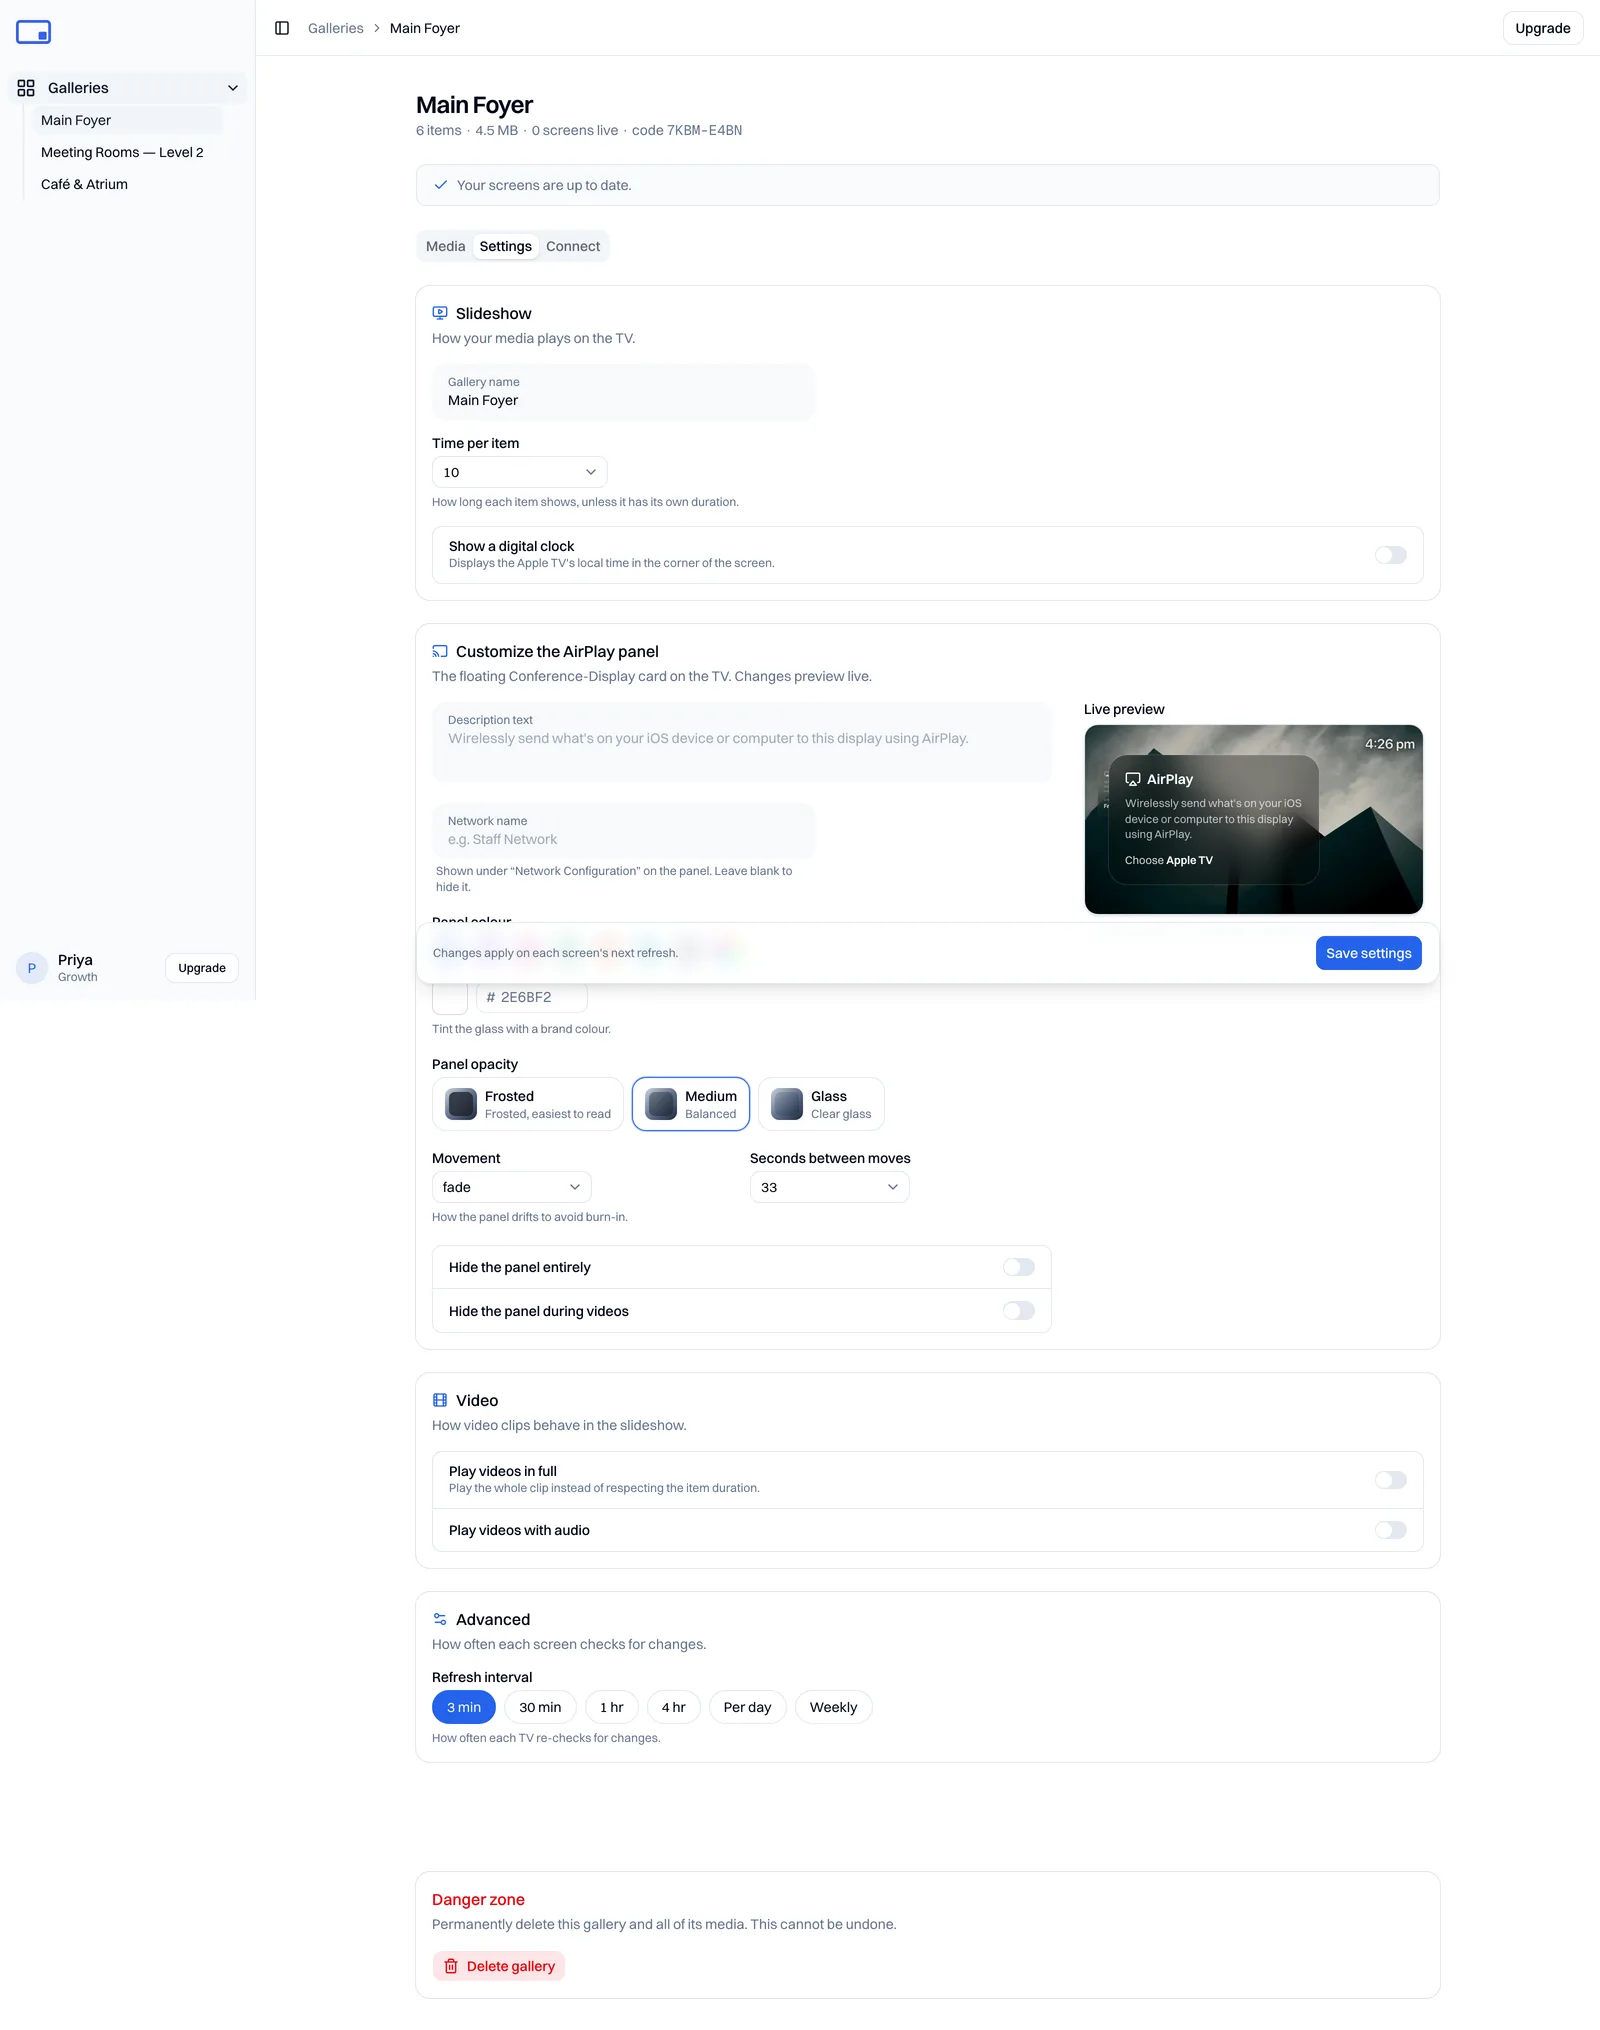
Slideshow
- Gallery name: rename the gallery.
- Time per item: how long each item stays on screen, unless an item has its own duration set on the Media tab. See Upload and organise media for per-item timing.
- Show a digital clock: turn this on to display the Apple TV's local time in a corner of the screen.
Customise the AirPlay panel
The AirPlay panel is the floating Conference-Display card on the TV. As you change these settings, a live preview on the right updates over your content, so you can see what you're getting before you save.
- Description text: the paragraph shown on the panel.
- Network name: shown under "Network Configuration" so people know which network to join to AirPlay. Leave it blank to hide that line.
- Panel colour: pick a tint from the colour swatches. The live preview shows it over your content.
Tip: we say "Network" rather than "Wi-Fi" because an Apple TV might be on Ethernet. Use the name of whichever network people should actually join.
However you style it, the panel stays a one-tap AirPlay target. It also drifts slowly around the screen so it doesn't burn in.
Save your changes
Select Save settings. Changes land on each screen's next refresh, not the moment you save. See Managing galleries for how the refresh interval works.
Want the same message on every screen at once instead of per gallery? See Broadcast a notice. Anything else, email support@getbillboard.app.